So you want to get rid of them mh?
well don't worry cus soon or later they
will not be able to say a word in your time
line or wall, how you think about that, cool right?
Blocking users in facebook is important when you can’t stand annoying users who have nothing to do but a boring chat. Well you will see how that can be done as we move on. You simply want to block a user because you do not want to have anything in common right? Ok hope it be so.
However you do not need permission from users to block them from you contacts, but they will automatically notice after some time that they are not able to see your post and activities in facebook,. They will also lose access to commenting to your time line. All this can be done and you are assured that it is save as facebook has made it absolutely possible.
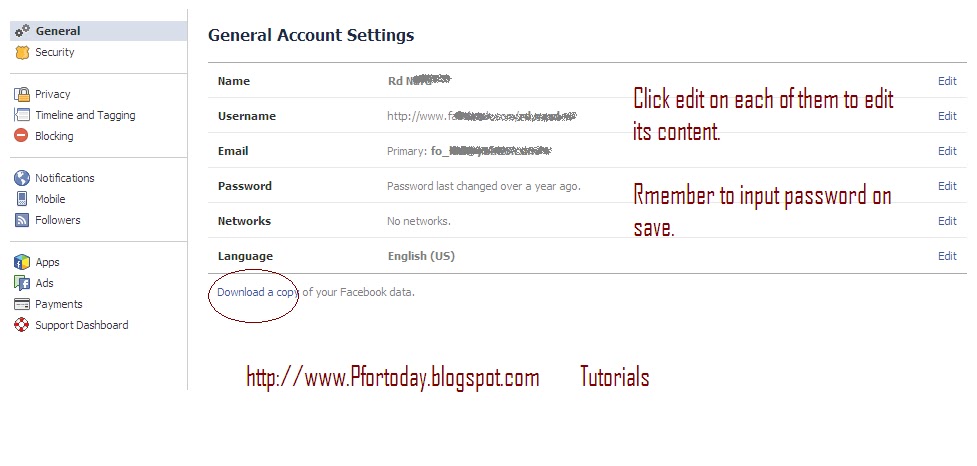
First, login to your main account and click the settings icon from extreme top right. In the settings drop down, click “Account settings “then click “Blocking” from left panel.
Under the Manage blocking page, you have the various options to block different activities. For example, “Block App invites”.
 In the “Block User” input area, type in the email or name for users you want to block. Remember to use a name that the user uses on facebook if you prefer blocking by name. If you can’t remember the name, or if you know you are not sure of the spelling, use emails and I guess it could be much easier.
Each time you block a user, they are taken to the “Restricted list”, where you can view and make changes to the blocked users. You are done!